Enamels tend to fare poorly if left entirely unprotected. I managed to drop a finished piece tonight, and sadly, it is pretty much toast. In all fairness, I'm more than a touch clumsy and had dropped it multiple times before without breaking, but this time my luck had run out.
"Settings" are the term for the metal bits that surround jewels and keep them in place, and are really an art unto themselves. They can also be a tremendous pain to make (well). But really, there's not a lot you can do with an unset enamel besides put it in your pocket. As I am trying to see what people do with these portraits, they need to be able to use them and do so in a variety of ways.
The ill-fated gentleman in question. Knocked a big ol' chunk of enamel out under his jaw..the fracture is visible here.
To that end, I've been working on a system of interchangeable settings. They are compose of steel and pewter, the former for its strength and the latter for its ability to be cast into detailed forms. Price also factors into this; they don't call them "precious metals" for nothing, and I'd like to make work that is a little more democratic than gold and diamonds without having simplicity forced upon me.
Basic schematics for how the steel will be cast in place with the pewter. Due to the nature of the molds, the steel has to be precisely the same shape and size to allow for proper casting.
Because the pieces are meant to be swapped out, precision is key. Happily, I have been learning how to use the program Rhino in order to design pieces for machining, and will be working with the pewter foundry where I interned over the summer to cast the decorative elements onto the machined steel.
I am still working out the kinks with prototypes, but hope to finish debugging the settings as soon as I manage to get this website off the ground.
Steel samples, laser cut chipboard test samples, and the patterns transferred onto steel for testing.
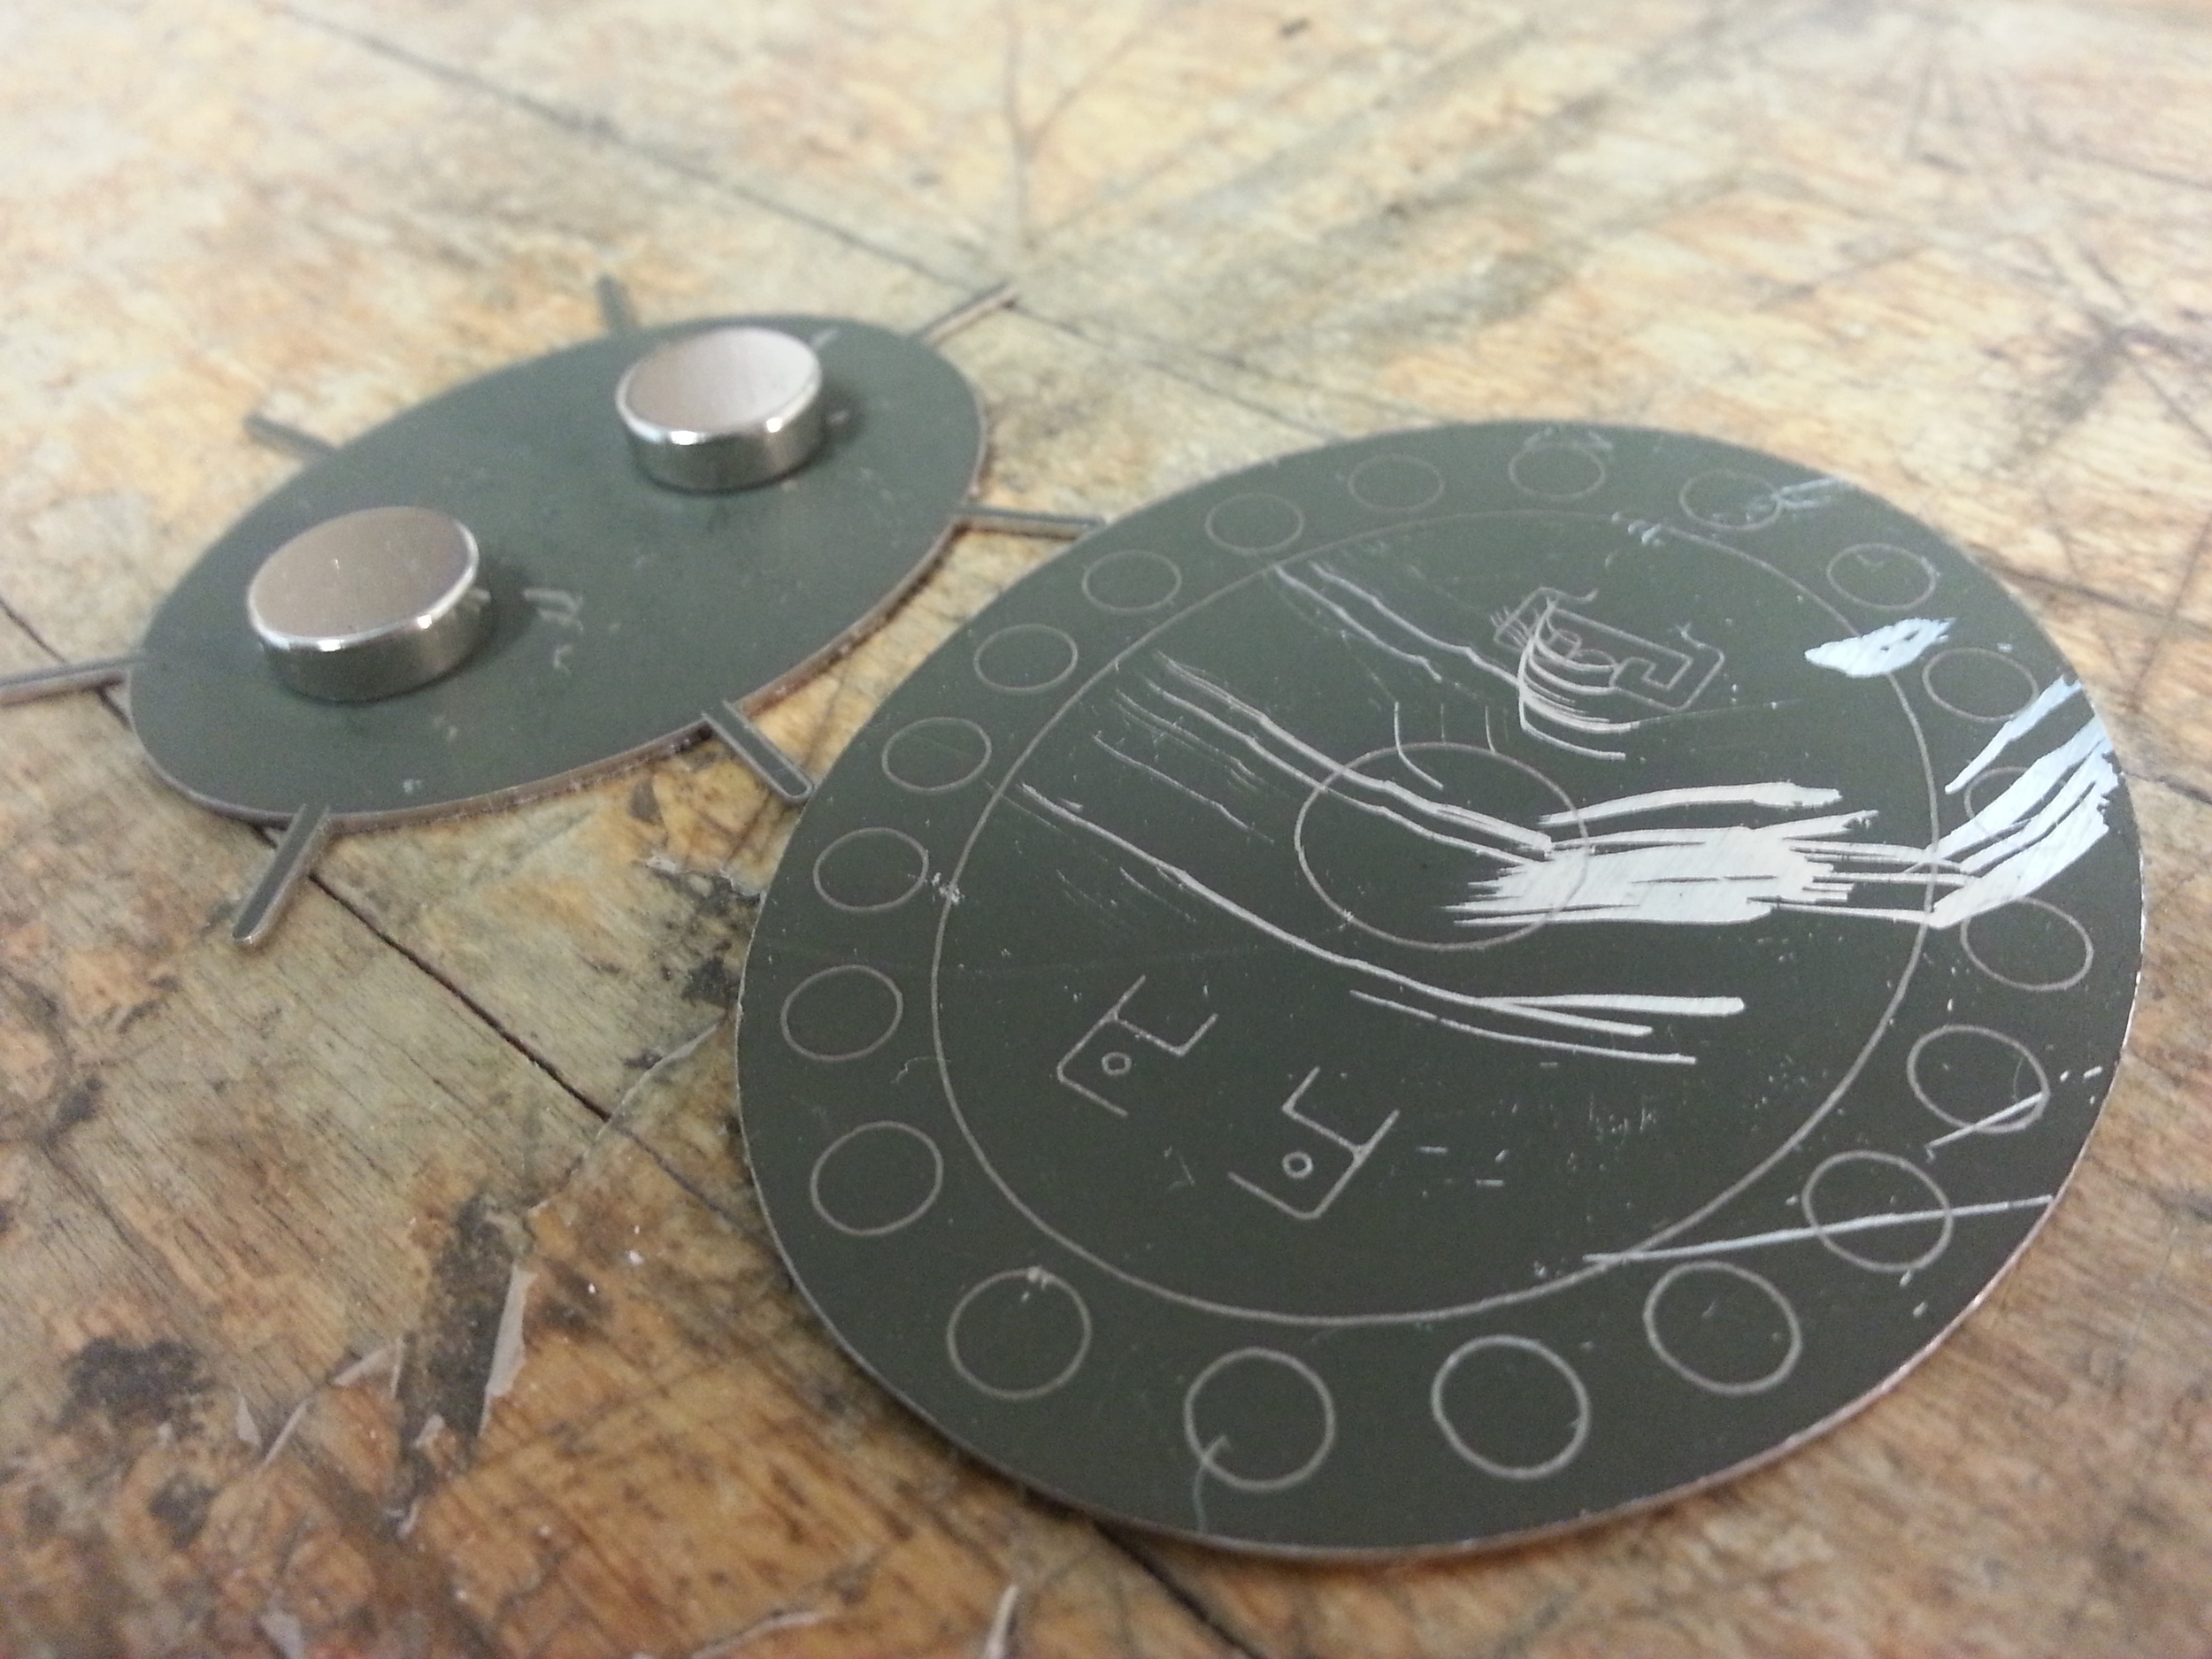
Magnets and steel, hand-cut for testing.
To put the question of interchangeable settings into some context, my initial set of portrait pieces (8 in total) took me about two and a half weeks to finish. I decided I wanted one setting which could hold whichever piece I felt like wearing on a given day.
I ended up designing and making a silver locket with three separate mechanisms: the hinge at the bottom which allows the cover to swing out; the tension spring which holds the portraits in place (despite slight variations in size); and the locking latch built into the bail (when the bail is upright during use it prevents the cover from opening).
During construction; the open back reduces weight and reveals the inscription on the enamel back. For reference: the ruler is showing centimeters and the grid is 1x1 inch.
Finished locket, open. The wire springs keep the enamel in place and provide a little shock absorption. I built the piece to be rather rugged in hopes of offsetting my klutziness.
Bail in forward "open" position allows the catch in .
The catch is also friction based, so it clicks closed.
When hung, the bail rotates back and locks the latch in place.
Total time for design and construction? Same time it took to do all of the enamels combined. Don't get me wrong, I'm very happy with it, but the logistics of building this locket drove home my need for a different sort of solution and pointed me towards the machined steel/magnets/pewter casting route I'm currently pursuing.


